Here is the next installment in the build of the Longtail 30.
Turning topsides up is complete. The false transom will be replaced
with the carbon fiber transom. In the next installment, side decks will be installed.
 |
| Setting down on cradle after weighing. Rudder tube showing. |
 |
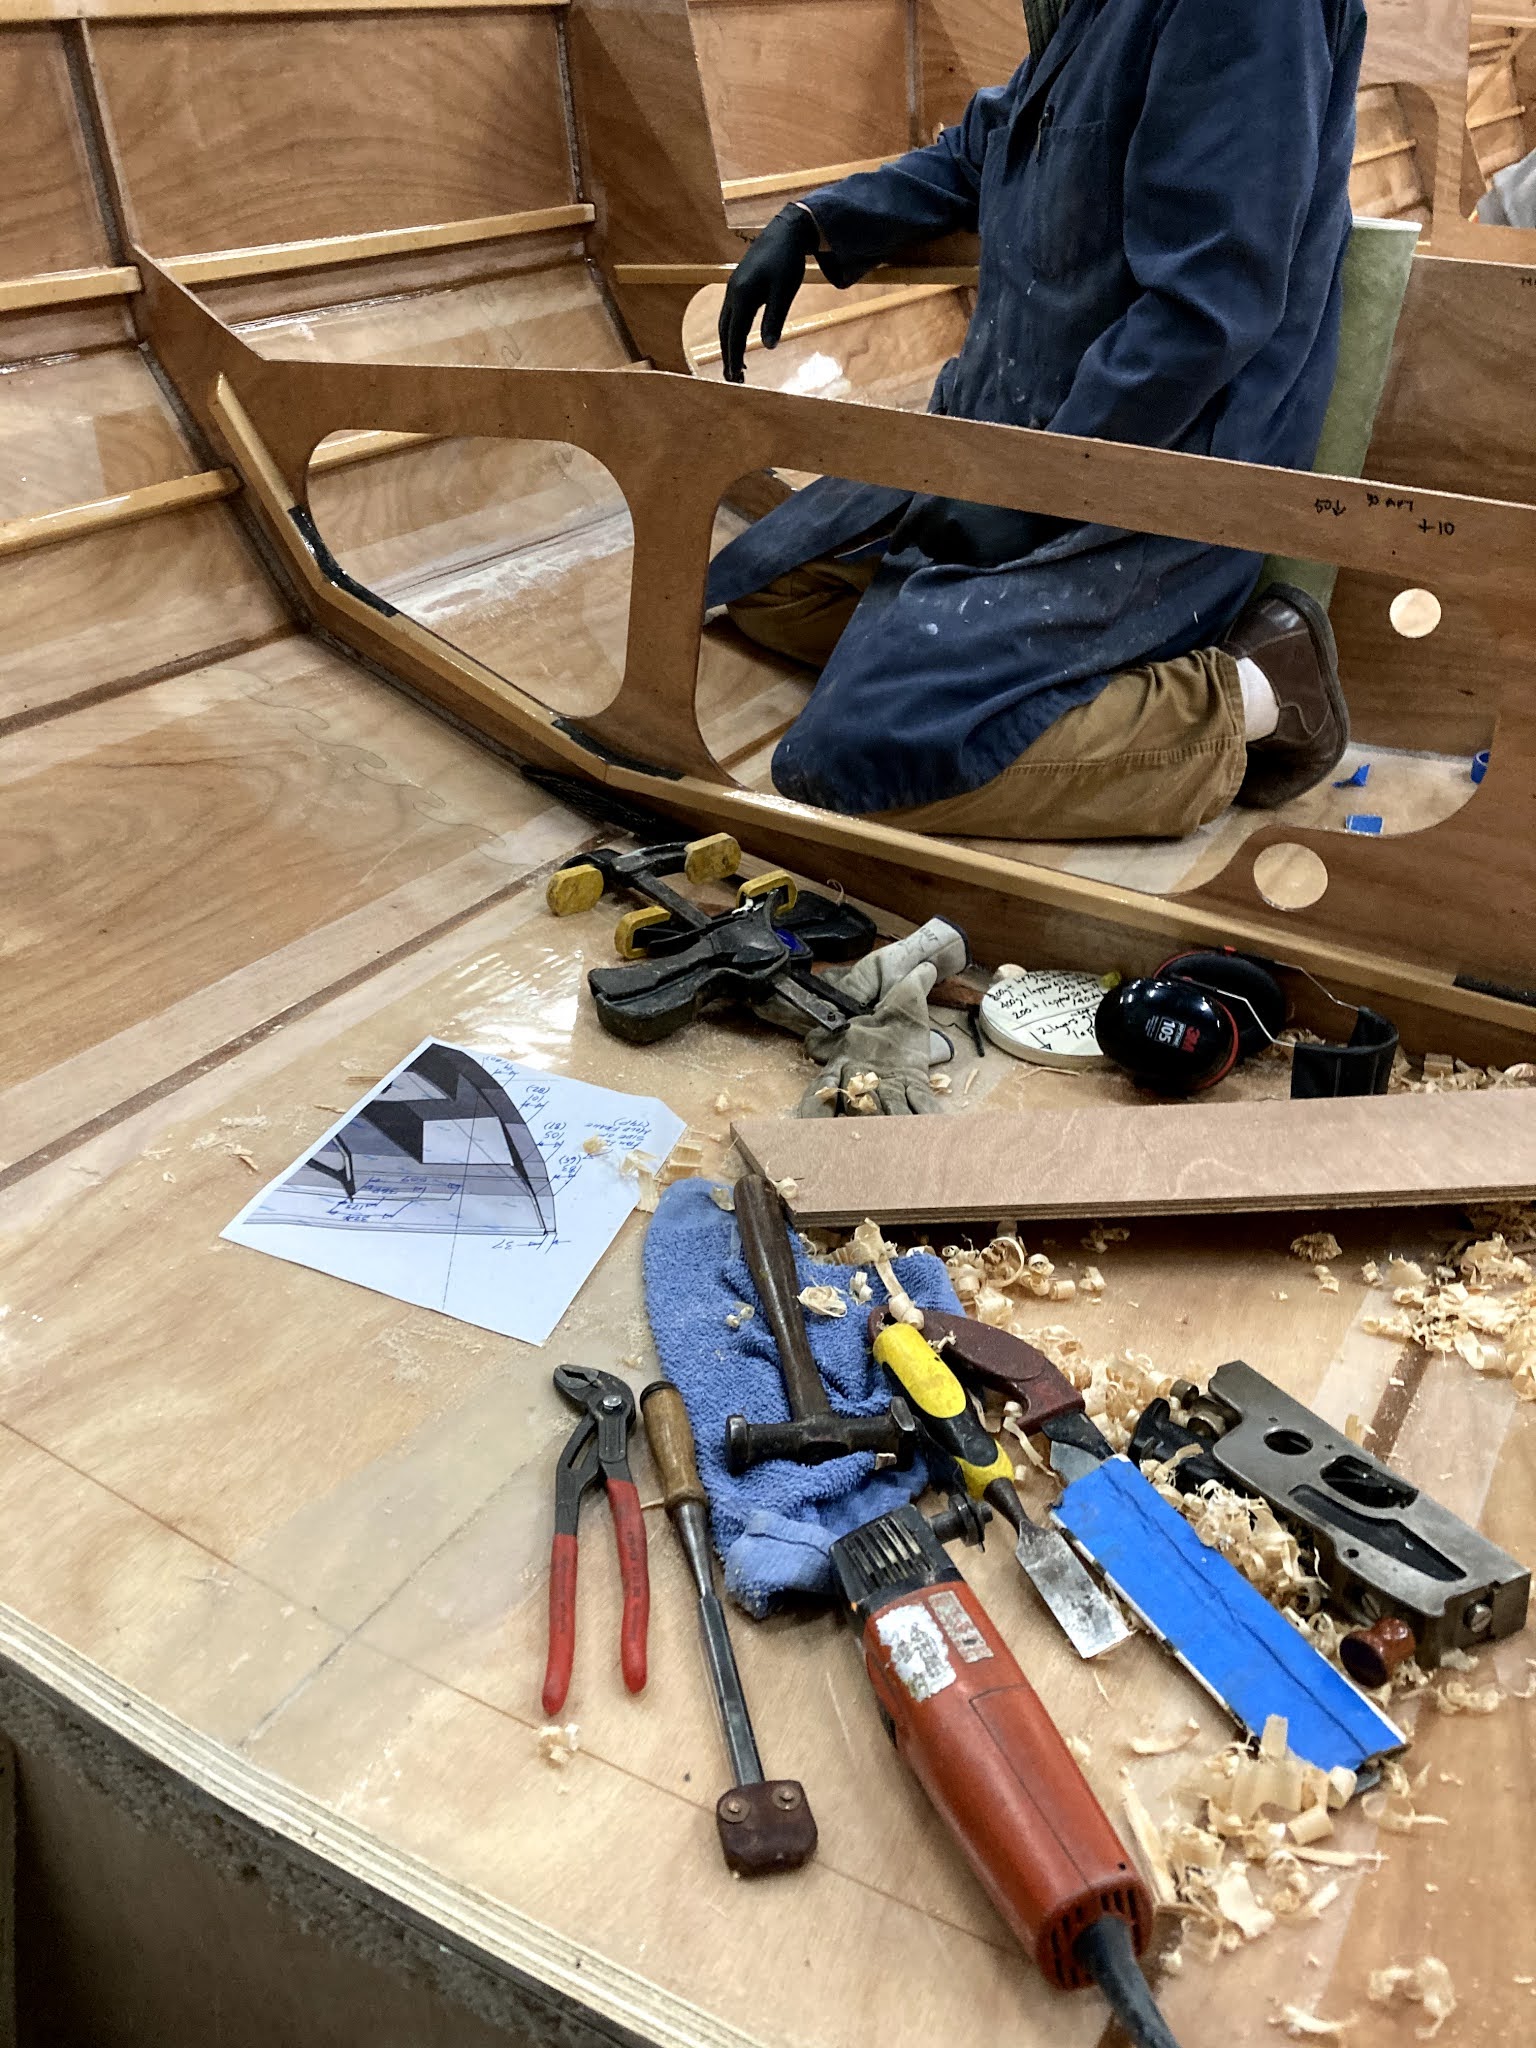
| Tapering the upper stringer to carry the aft deck |
 |
| Fitting reenforcement for the bowsprit |
 |
| Transom glued in. |
 |
| Decks drift |
 |
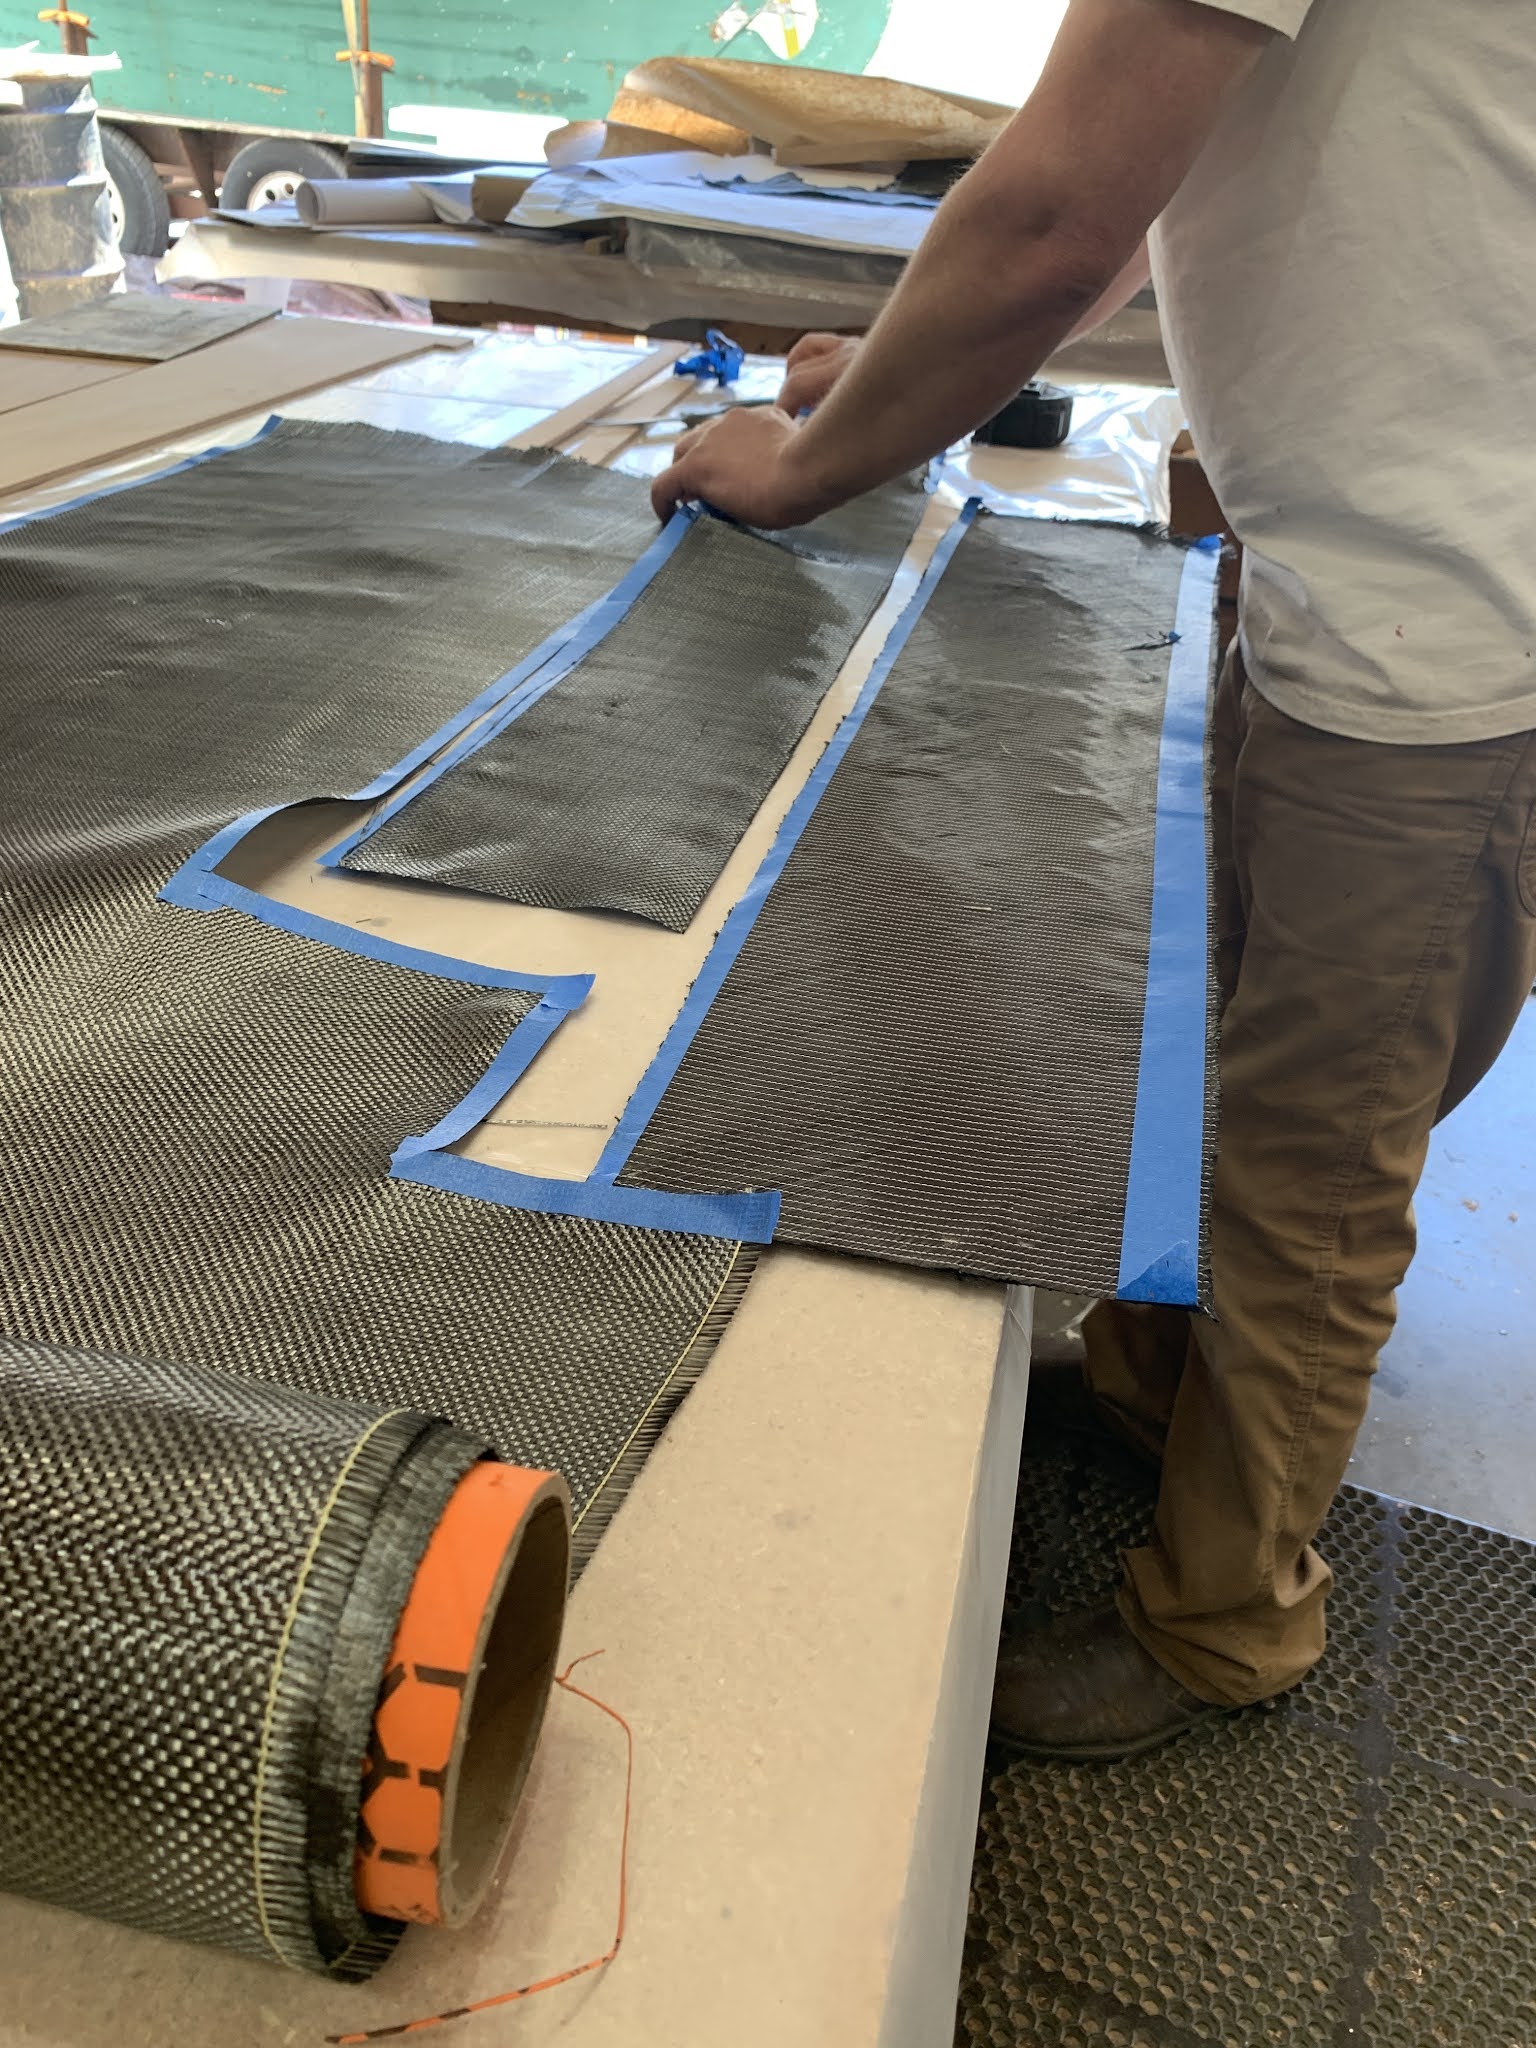
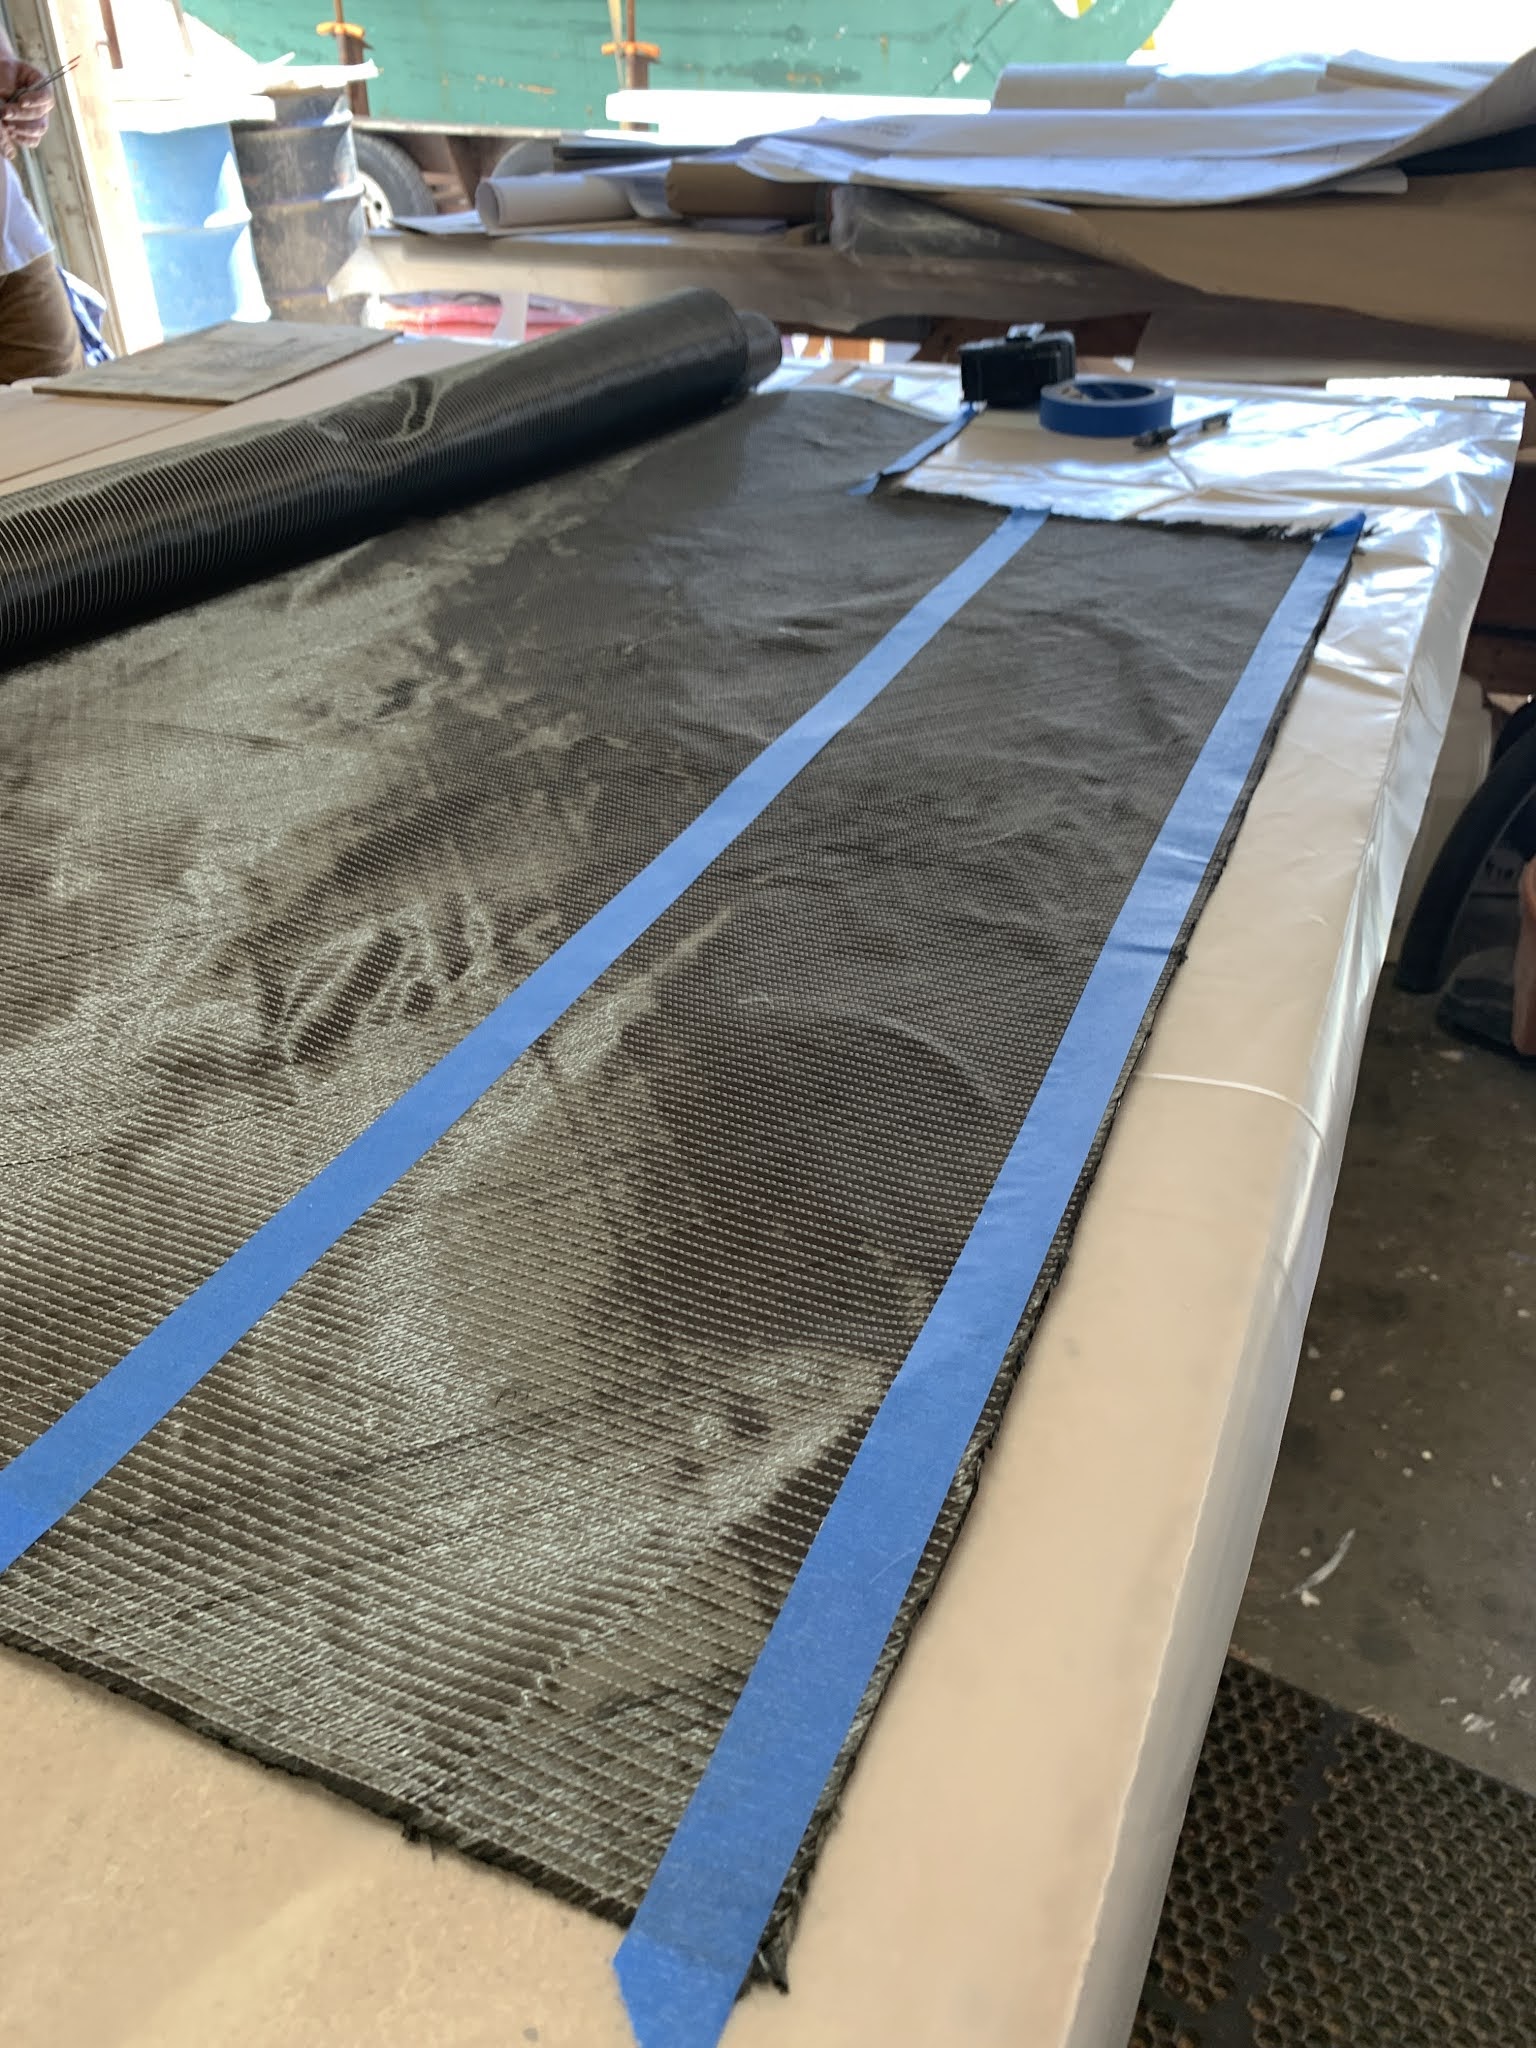
| Carbon fiber reenforcement vaccumed by chainplates |
 |
| Underside of cockpit, turning block cheeks for mainsheet coarse and fine controls. |
 |
| For deck panel with rebates for traveler, house and hatches. |


